Thursday, October 28, 2010

Creative wall ideas for kid spaces

It's no secret that children are some of the most creative creatures on this planet. They are not hindered by the limitations we adults often times place on ourselves. So when decorating a child's room, think about giving them a space that will allow their imaginations to run wild.

One of the easiest ways to achieve this goal is through decorative wall treatments. It doesn't have to be fancy or expensive. You can create custom or semi-custom looks with paint, wall decals, wall art and more. Below are some wall treatment ideas, including some of my own, to get your creative juices flowing!

Paint
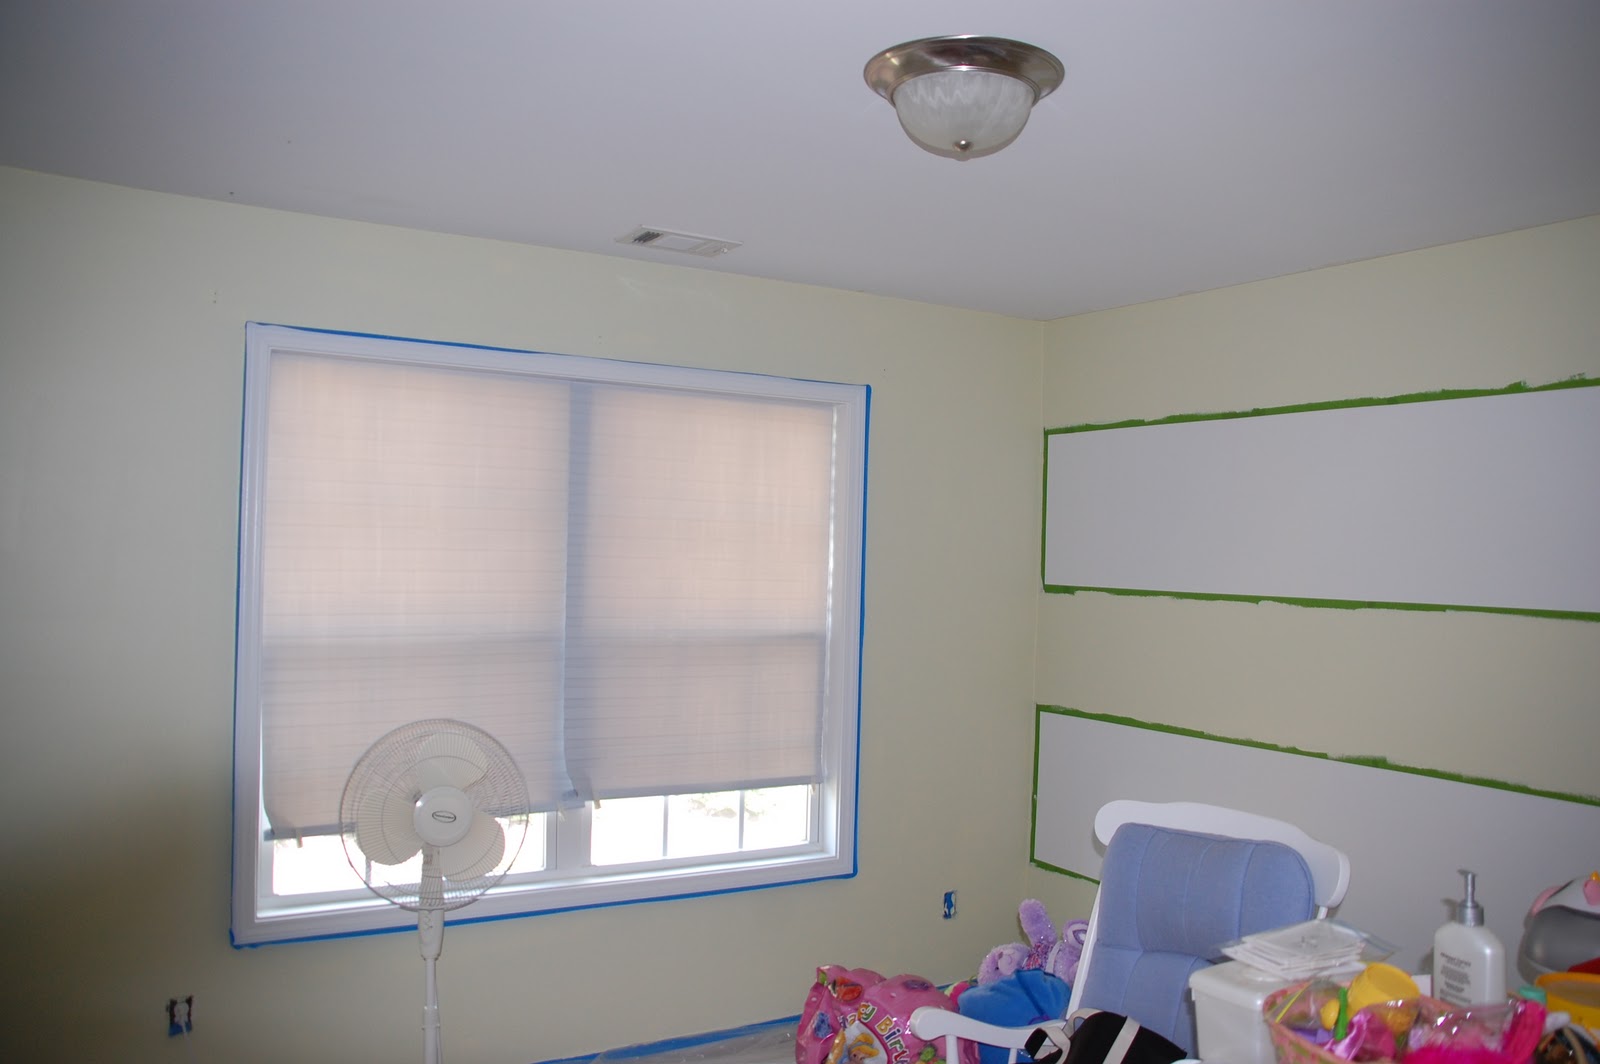
Paint is one of the cheapest decorating tricks that can provide the most impact to a space. With a couple of rolls of painters tape, a ruler, a laser level, and a smidgen of imagination, you can create one-of-a-kind wall treatments for your child's room. If using more than one color, consider buying the quart size or sample size. That way you don't have to worry about what to do with all that left over paint. It's easier on your wallet and good for the environment, too!
Nadia's old nursery. Fit for a princess!

Simone's old room. Rhinestone studded diamonds!

Consider stripes, circles, harlequin, or free-hand designs. If you don't think you have any artistic capabilities, no problem! You can rent a projector to project the image on the wall, trace it, then fill it in with color. You'll amaze yourself with what you're capable of and if you don't like the finished results, paint over it. Just get a second opinion before you do. We adults tend to over criticize ourselves and what we think is "crap" may actually be good.


Miles' future nursery in rugby stripes.

Simone and Nadia's new pink & purple room.

DesignDazzle.blogspot.com
  
Wall Decals
The abundance of wall decals on the market today make it super easy to add flair to your kid's space. Many of the wall decals are vinyl which makes them repositionable so if you don't like where you've placed it, just peel and reapply. You can find wall decals at Target, JoAnn's, WhatisBlik.com and many, many more. I found the Eiffel Tower decal I used to decorate Simone and Nadia's room on clearance at World Market.

Available at Target.com


Available at World Market

Wall Art
Have you ever been tempted to buy every single accessory in a children's bedding set, including the wall art? If you have, then consider replacing the coordinated wall art with some of your own. Make customized wall plaques of your child's name or monogram using small canvases and wooden letters. Frame images of your child using scrapbook paper or fabric as the matte. Create shadow boxes and include personal items such as baby's first toy. Websites like Land of Nod, Rosenberry Rooms, and WallNutz have plenty of paintings, murals, and wall decals to choose from.


Land of Nod

Below, LaKeitha Duncan (home23duncanboys.blogspot.com) created wall art in a baby's nursery using alphabet poster cards from Land of Nod.
Nursery by L. Duncan at Home23Duncanboys.blogspot.com
 As you can see the possibilities for decorative wall treatments are endless and you are only limited by your imagination. What not let the child in you run wild?

P.S. I would have had more images of creative wall treatments for this post, but my computer is old and crappy and would only let me do one upload at a time before I had to log out and log back on to do another. Oh well...it's the perfect excuse for a follow up post!

Tuesday, October 19, 2010

Ten fantabulous headboards!

I'm a sucker for headboards. To me, they set the tone for the bedroom. Upholstered headboards add an instant touch of luxury. I selected one in the "bonnet" style from Bassett Furniture for my master bedroom. From the simplistic to the ornate, upholstered headboards come in endless options.

Many furniture retailers offer ready made headboards; you just order and install, others allow you to select the form and fabric. But if you still can't find the shape or fabric you want, consider having one custom made. Many fabric centers offer this as a service and they can be surprisingly affordable.

For some inspiration, check out the pics below:


House Beautiful
House Beautiful
Lonny Magazine
Lonny Magazine
<><>
<>
<><>
Lonny Magazine

Monday, October 18, 2010

Industrial chandelier find at High Point

One word: funky!

Here is another great find from High Point. One funky industrial chandelier. The chandelier would work well in a juxtaposition of rustic and modern. Check out the sofas and pillows. It seems that charcoal gray and yellow with a touch of navy are still a hot combination in home design.

Muy caliente! Magenta sofa at Fall High Point show

Yummy color! I don't know who the furniture maker is, but this modern magenta sofa and chair discovered at the Fall 2010 High Point Market are too hot! I would love to see them against apple green, turquoise, or navy walls. I could only manage what scrumptious fabrics these were covered in.

Lorts Furniture: Official showroom tours of Fall 2010 High Point Market

This weekend marked the official opening of the Fall 2010 High Point Market. Designers, editors, and furniture manufacturers come from all over to see what's new and exciting in home fashions. Below is a link to Lorts Furniture. They are one of the official bloggers to the Fall High Point Market. Check out the link below to see some amazing new designs in home decor.
http://lorts.wordpress.com/2010/10/16/fall-market-2010-virtual-showroom-tour-part-1/

Classic french with a modern twist

Posted by P. Chrisley Int'l

This week is the fashion week for the design world at the High Point Furniture Market. Designers and Furniture manufacturers come together to see/show off what's new in design. Above is a classicly french bed with modern lines. The upholstery can certainly be switched out for a fabric of your choice.

Monday, October 11, 2010

Inspiration for my Master Bedroom

Okay this is the look that I have had stuck in my head for the last three years of what my Master Bedroom will look like.

So far I have the luxury bedding, upholstered headboard, dresser, and cool lamps, but I'm still waiting on my mirrored side tables and fabulous chandelier. My color scheme is purple, silver, cream, and black and I'm looking to go darker with the walls to make the room even more dramatic.

I would love to paint my trey ceiling in a high-gloss eggplant to really rev up the glam and drama. If you have to describe my style inspiration for the room, I'd have to say Hollywood
Glam.

Wednesday, October 6, 2010

Make Room for Baby

Last Autumn I found out that I was having a baby. Yeaahhhh!!! That meant my family was growing from a party of four to a Party of Five (and yes I went there). The problem was - where was I going to put the little bugger? My oldest daughters were 6 and 4 at the time and there was no way that either one of them was going to share a room with a newborn. Although I have a 4 bedroom house with a bonus room over the garage, my parents and in-laws visit a lot so I needed to keep a guest bedroom at the ready and set up a baby nursery for my son Miles.

So that meant that my girls were going to have to share a room. When I asked Nadia my 4 year old if she wanted to share a room with her older sister Simone, she excitedly responded "Yes!", but when I posed the same question to Simone, who's 6, she replied, "I don't think I would like that very much". How would I get them both behind the idea?

Make Room for Baby

Step 1: Select a bedroom that will accommodate both children. Chances are you have a secondary bedroom that is larger than the others and will have the space and layout to suit your needs. The old guest bedroom just happened to have a huge double window and ample closet space. What more could two girls want?

The old guest bedroom before the makeover
Step 2: Take measurements of the room to determine if it can handle separate beds or if bunk beds will be needed. If I had to do it all over again, I would have gone with the bunk beds to free up the floor space, but because I had purchased twin beds the year before when they each had their own rooms, I had to work with what I had.

Step 3: Let the children being uprooted by the new baby have an active role in the design of the new room they'll share together. My girls picked the paint colors; pink and purple. I had to say "ixnay" on the Hello Kittly and Disney Princess themes because they are going to be in this room together well into their tweens and I'm not redecorating this room anything soon. The girls finally settled on a Parisian theme that their mother conveniently introducted to them through the Madeline and Fancy Nancy children's books. (It's called "gentle persuasion" :-) ).

Step 4: Let the children participate in decorating the room. Simone and Nadia went with me to Lowes to select the perfect shades of pink and purple. We used Olympic's Low VOC paint in Cotton Candy and Lovely Lilac. I also gave them each a paint roller and allowed them to paint small sections of the wall. Since I was applying a design to the wall to work in their favorite colors, I couldn't just let them go crazy and paint whatever they wanted so I limited them to the space between the tape. It was like asking them to color within the lines with a really large and messy crayon, but hey - that's what clean-up sponges are for, right?

Simone & Nadia helping mommy remove the painter's tape.

Simone & Nadia's new combined room. Now let's layer in more color!

Nadia's "purple" side of the room.

Simone's "pink" side of the room.
This room is almost finished...just need to add a few finishing touches such as trim for the curtains, decorative throw pillows, a cute little rug, and the piece de resistance; a dazziling chandelier.

Step 5: Get started on decorating the baby's nursery. There are so many options for baby nursery themes, but since the proud papa was excited that he was finally getting his son, I allowed him to pick the theme. And if any of you know my husband, then you know that the theme selected was sports. Now all we need is to find the right bedding and accessories.
Miles' future nursery. Transformation in progress.
Related Posts Plugin for WordPress, Blogger...